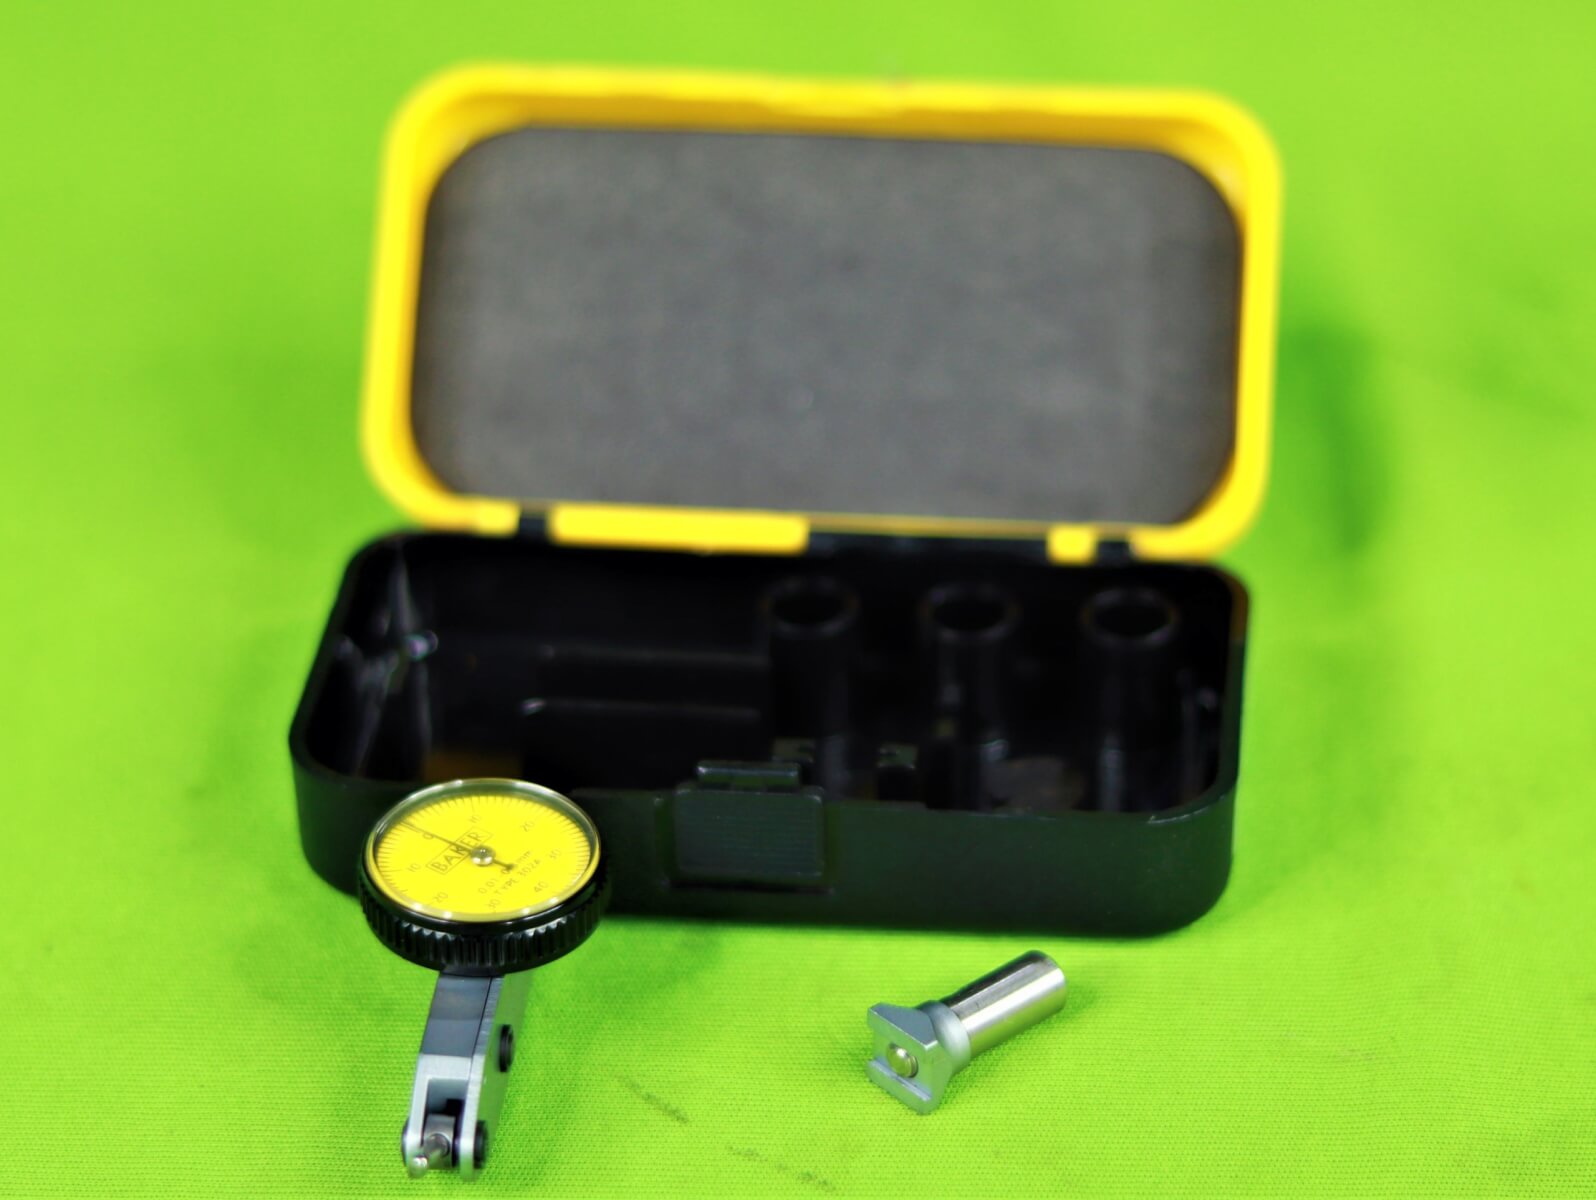
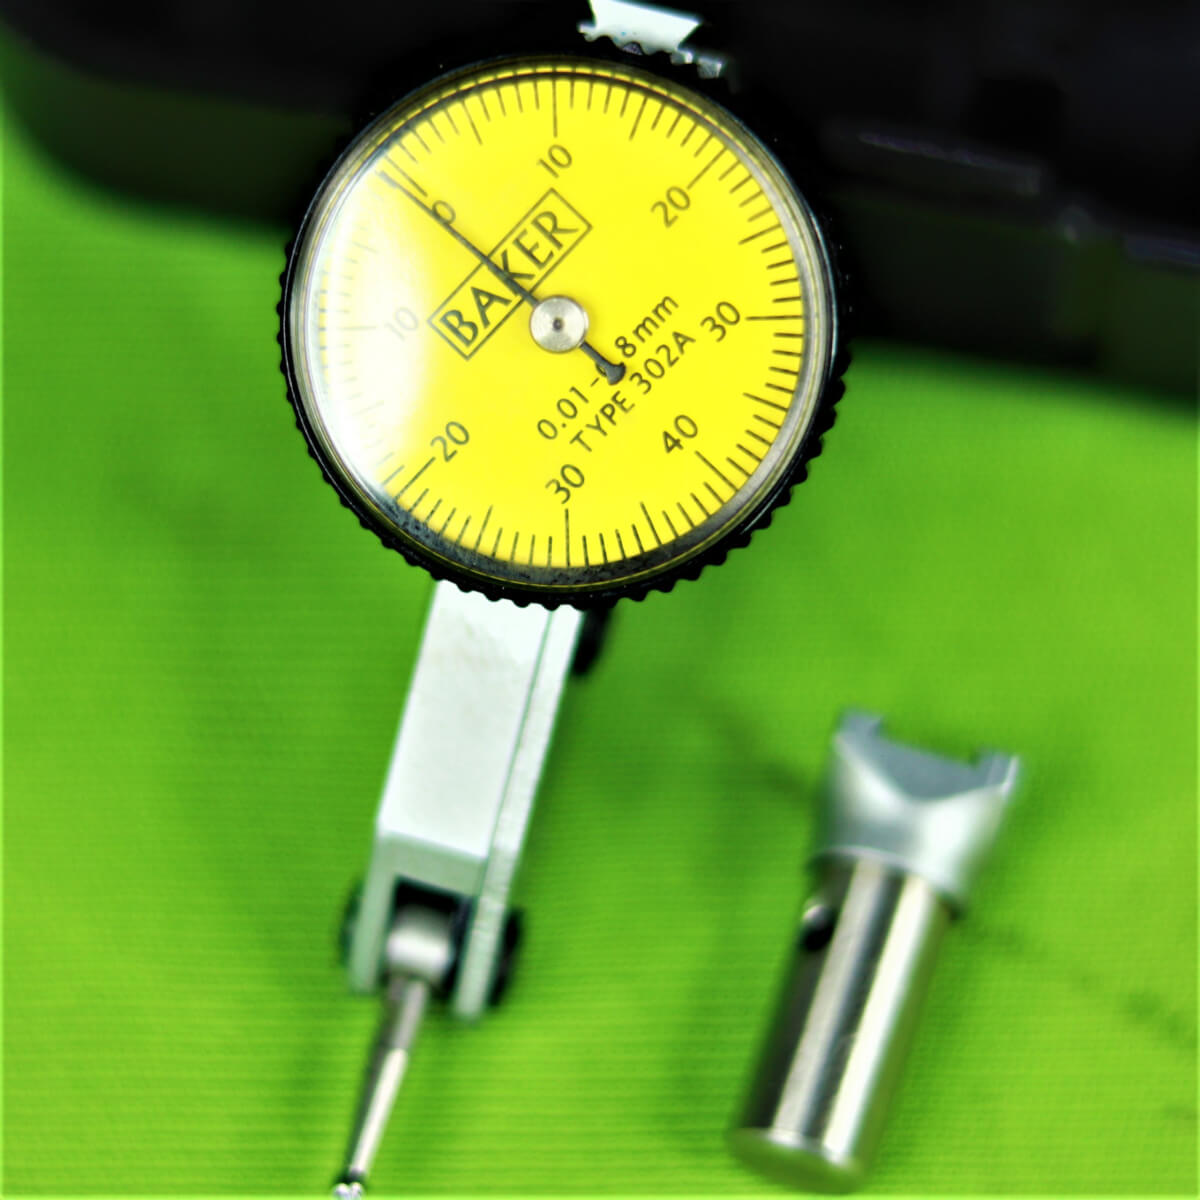
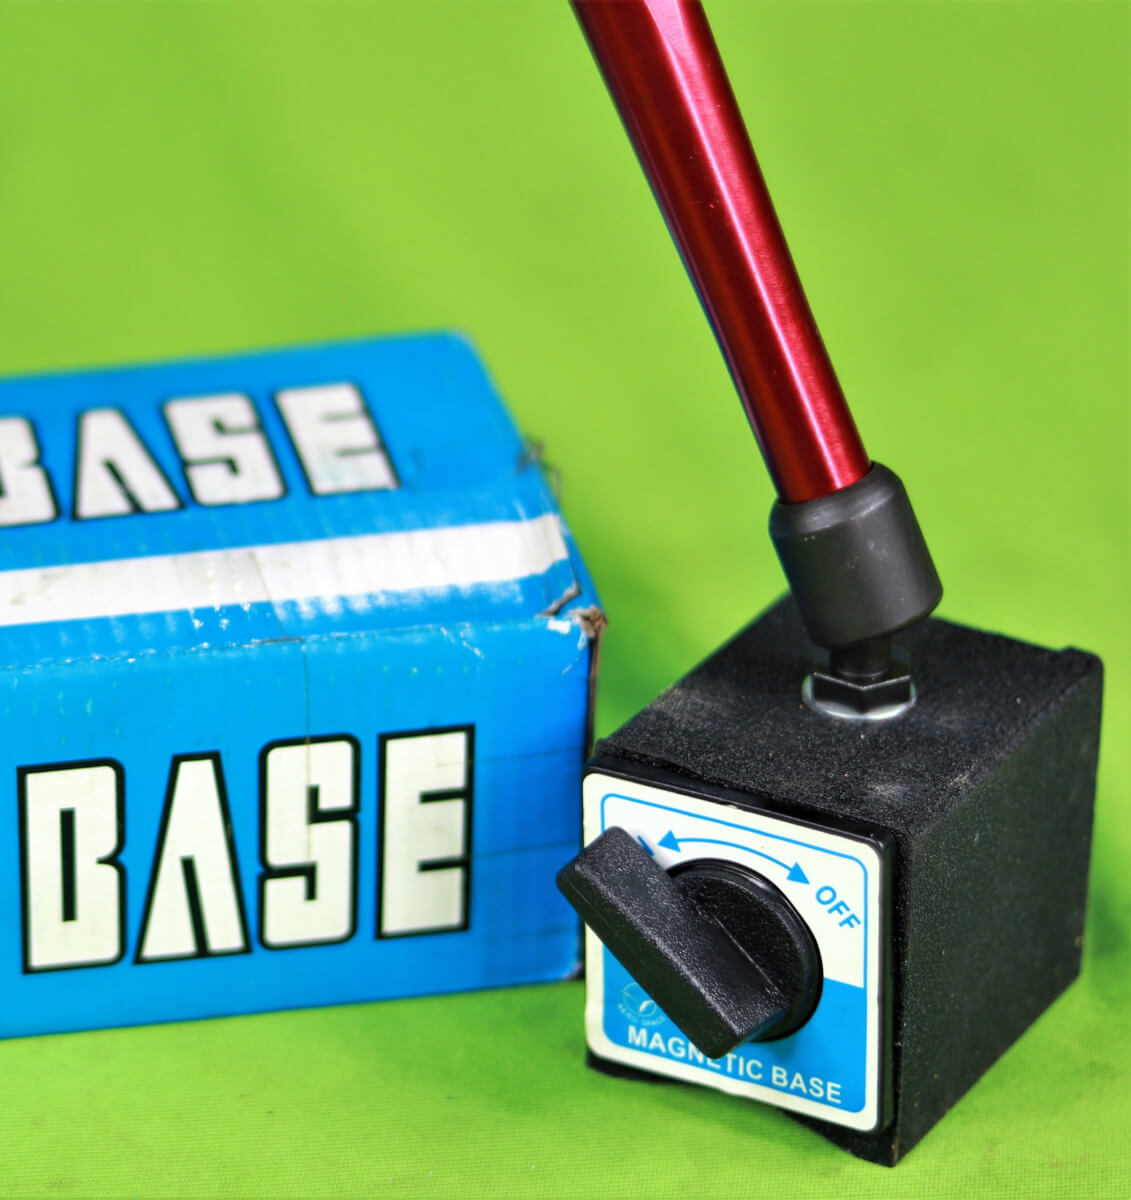
A magnetic stand with a dial gauge is a precision measurement tool commonly used in machining, engineering, and metalworking. It allows for accurate measurement of small distances, run-out, and alignment by using the dial gauge mounted on a magnetic base. Here’s a detailed guide on how to use it:
How to Use a Magnetic Stand with Dial Gauge
1. Setup the Magnetic Stand
- Position the Stand: Place the magnetic base on a clean, flat, and stable surface. Ensure the area where you place it is free from any debris that could affect the stability of the stand.
- Activate the Magnet: Engage the magnetic base by turning the magnetic switch to the “on” position. This will securely hold the stand in place on metal surfaces. Make sure the magnet is fully engaged before you begin using the gauge.
2. Attach the Dial Gauge
- Mounting the Gauge: Insert the dial gauge into the adjustable holder on the magnetic stand. Most stands have a clamp or holder designed to securely hold the gauge.
- Adjust the Position: Adjust the height and angle of the dial gauge to ensure it is in the correct position for measurement. This might involve loosening and tightening screws or knobs to set the gauge at the desired angle and height.
3. Calibrate the Dial Gauge
- Zero the Gauge: Before taking measurements, calibrate the dial gauge to ensure accuracy. Place the gauge’s probe on a reference surface or a known measurement, and adjust the dial to zero if necessary.
- Check for Accuracy: Ensure that the gauge reads zero or the correct starting point when the probe is in its resting position.
4. Take Measurements
- Position the Probe: Place the probe of the dial gauge against the surface or feature you need to measure. The probe should make contact without tilting or shifting.
- Read the Measurement: Carefully take the reading from the dial gauge. The dial will show the measurement in either millimeters or inches, depending on the gauge’s calibration.
5. Adjust and Re-measure
- Move the Stand: If necessary, reposition the magnetic stand or adjust the gauge for different measurement points or angles.
- Recheck Measurements: For accuracy, it’s often helpful to take multiple measurements and confirm consistency.
Applications
- Run-Out Measurements: Used to check the run-out or concentricity of rotating parts, such as shafts or wheels.
- Alignment Checks: Useful for ensuring the alignment of machinery components or setting up workpieces.
- Surface Flatness: Measures surface flatness or deviations from a reference surface.
- Thickness Measurements: Measures the thickness of material in various applications.
Tips for Effective Use
- Stable Surface: Ensure the magnetic stand is placed on a stable, clean, and flat surface to avoid inaccuracies caused by movement or vibration.
- Proper Calibration: Regularly calibrate the dial gauge to maintain measurement accuracy.
- Handle with Care: Avoid dropping or mishandling the gauge and stand, as this can affect accuracy and damage the equipment.
- Regular Maintenance: Clean the dial gauge and magnetic stand after use to keep them in good working condition. Check for any signs of wear or damage and address them promptly.
Maintenance and Care
- Cleaning:
- Wipe the magnetic base and dial gauge with a clean, dry cloth. Avoid using abrasive materials that could scratch the surfaces.
- Keep the dial gauge free of dust and debris to ensure smooth operation.
- Inspection:
- Regularly check the magnetic base for signs of wear or damage to the magnet and ensure it’s functioning properly.
- Inspect the dial gauge for any signs of damage or misalignment and recalibrate if necessary.
- Storage:
- Store the magnetic stand and dial gauge in a clean, dry place. Use protective covers if available to prevent dust and damage.

